
Hiding the Clutter: Using Zoom’s Native Green Screen Settings Without Pro Lights
Learn how to leverage Zoom's manual color picker and threshold sliders to mask a messy room using a plain wall and natural light, bypassing the need for expensive green screens or studio lighting.

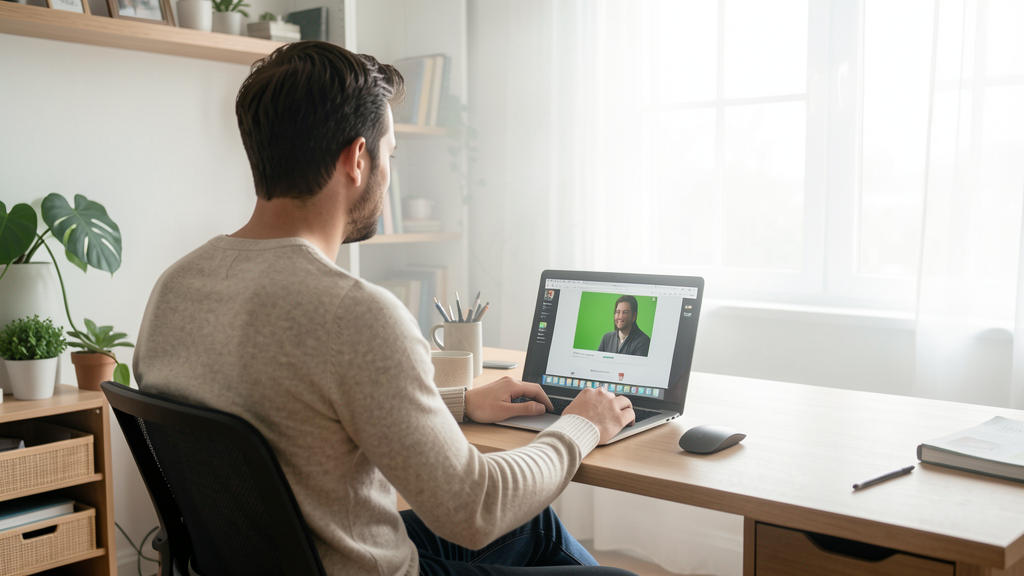
We have all been there. It is 9:55 AM, you are scrambling to join a strategy call, and your background looks like a disaster zone of unfolded laundry and coffee mugs. In 2026, remote work remains the standard for many of us, but our home offices have not necessarily caught up to the aesthetic standards we see on LinkedIn. You might feel the pressure to invest in a collapsible green screen and a two-point lighting setup, but that is often overkill and expensive.
I have spent the last four years managing community strategies for Connectychat, often conducting interviews from my living room. I discovered that Zoom’s native software is surprisingly capable of handling background masking if you stop relying on the "Virtual Background without Green Screen" option. By manually selecting a color and adjusting the software's sensitivity sliders, you can achieve a clean chroma key effect using nothing but a flat-colored wall and whatever natural light comes through your window.
This approach will not give you broadcast quality, but it will solve the immediate problem of looking messy without requiring you to buy a single piece of gear.
Why Standard Virtual Backgrounds Fail
Most users toggle on the "Virtual Backgrounds" tab and select a blurred image or a branded logo. Without a green screen, Zoom uses AI to separate you from your background. This algorithm struggles when there is low contrast between your clothing and the wall, or when the lighting is uneven. You see the glitching outline around the hair, or the background dissolves every time you move your hand.
The issue is that the software is guessing what is you and what is the wall. When you tell Zoom you have a green screen, you switch the engine from "guessing" to "subtracting." It removes everything that matches a specific color. The trick is that you can tell the software which color to subtract. You do not actually need a neon green fabric; you just need a surface that is one solid color.
Step 1: Select Your Backdrop and Position
You need a backdrop that is as uniform as possible. Ideally, you are looking for a white, beige, or grey wall. Do not worry if it is not painted professionally; the texture matters less than the color consistency.
- Clear the area immediately behind your chair. Move the laundry basket out of the frame. You do not need to clean the whole room, just the two feet of width directly behind you.
- Position yourself at least three feet away from the wall. This creates a natural depth of field and prevents your shadow from falling on the backdrop.
- Ensure your clothing contrasts with the wall. If you have a white wall, wear a dark shirt. If you have a dark blue wall, do not wear a navy top. If you blend in, the software will erase your shoulder.
Step 2: Optimize Your Lighting Source
Since we are skipping the purchase of a ring light or softbox, we must rely on the sun. This is the most critical variable.
- Face a window. You want the light source to be in front of you, illuminating your face. Do not sit with your back to the window; this turns you into a silhouette and confuses the background algorithm.
- Close the curtains halfway if the sun is too direct. Direct, harsh sunlight creates harsh shadows that the chroma key will interpret as a different color, causing patches of your real wall to show through the virtual image.
- If it is night, turn on a lamp and place it behind your monitor, pointed at your face. Avoid overhead ceiling lights, which cast shadows under your eyes and on the wall behind you.
Step 3: Accessing the Video Settings Menu
Open the Zoom desktop application. You do not need to join a meeting to configure this.
- Click on your profile picture or initials in the top right corner of the Zoom home screen.
- Select Settings from the dropdown menu.
- Click on the Video tab in the left sidebar. Here you will see a preview of what your camera sees.
If you are debating between platforms for this kind of work, I have previously broken down the nuances of Google Meet vs. Zoom: Why You Should Choose One for Client Trust. However, for this specific masking technique, Zoom’s native tools are currently superior to most browser-based alternatives.
Step 4: Activating the "I Have a Green Screen" Toggle
This is the counter-intuitive step. You are going to check a box that says you have equipment you do not possess.
- Scroll down to the session titled "Virtual Backgrounds" within the Video settings.
- Check the box labeled I have a green screen.
- You will immediately notice your background goes black or strange colors appear on the wall. Do not panic. The software is waiting for you to tell it what color to filter out.
Step 5: Picking the Color Manually
Zoom defaults to a bright Kelly green. Since your wall is likely beige or white, the black screen is expected. We need to use the eyedropper tool.
- Click on the color box next to the "I have a green screen" checkbox.
- A color palette will appear. Click on the eyedropper icon (it looks like a syringe or pipette).
- Your cursor will turn into an eyedropper. Move it over the video preview of yourself and click directly on the wall behind your head. Pick a spot that represents the average color of the wall, avoiding the shadow cast by your head.
Suddenly, the black space should vanish, replaced by your selected virtual background. If you notice a flickering edge, that is normal for now; we will fix that next.
Step 6: Fine-Tuning the Threshold Slider
This is where the magic happens. The "Threshold" setting determines how strictly Zoom defines the color you just picked.
- Locate the slider at the bottom of the Video settings panel labeled "Threshold" (sometimes accessible after clicking a "Advanced" button depending on your version).
- Slide it to the left. The software becomes more lenient, picking up subtle variations of your wall color. If you go too far left, it will start eating into your skin or clothes.
- Slide it to the right. The software becomes stricter, only removing the exact shade you clicked. If you go too far right, your wall will show through again because it is not filtering the shadows.
The goal is the "Goldilocks" zone. You want the threshold high enough that your face remains solid, but low enough that the shadow behind your shoulder disappears. This manual adjustment is what mimics the effect of professional lighting without you actually owning it.
When the Background Glitches
Even with perfect settings, you might encounter issues. If you see a "halo" or a fuzzy outline around your body, check your shirt. I once wore a grey hoodie while sitting in front of a grey wall, and the result was comical—my head floated above my torso. Ensure there is color separation.
If you are sharing content during these calls, be aware of your bandwidth. I have noted in the past how 4 Riverside.fm Features That Eliminate "Upload Lag" Forever changed my recording workflow, but live Zoom calls are bandwidth hogs. If your internet is unstable, your background might pixelate. In this case, lowering the "HD" video quality in the same settings menu can actually stabilize the virtual background, as the CPU has fewer pixels to process per second.
Furthermore, if your video quality is consistently poor, or if you simply cannot get the lighting right, consider if you even need video. I spent years forcing video calls until The Day I Switched From Video to Voice Notes and Saved 5 Hours. Sometimes, masking a messy room is less important than preserving your mental energy by turning the camera off entirely.
The Trade-Off of DIY Chroma Key
Using this method requires a bit of fiddling every time you move your desk. It is not a "set it and forget it" solution like a physical green screen in a studio. You might find yourself tweaking the threshold slider five minutes before a client call. However, the trade-off is financial and spatial. You save $200 on lighting gear and you do not have to store a massive pop-up screen in your small apartment.
Ultimately, the goal is connection. People on the call are listening to your ideas, not scrutinizing the edge rendering of your hair against the virtual bookshelf. By mastering these native settings, you remove the visual distraction of a cluttered room, allowing the focus to return to the conversation.
Read next
Google Meet vs. Zoom: The 'Corporate Badge' Effect on Client Trust
Selecting the right video conferencing platform is a silent signal of your business acumen, and for high-stakes consulting, Google Meet often carries a heavier trust weight than Zoom.
The Day I Switched From Video to Voice Notes and Saved 5 Hours
A practical case study on how replacing weekly video syncs with asynchronous WhatsApp updates reclaimed a full workday of deep focus.